Here's a longer update on activity over the recent break:
Front Brake:
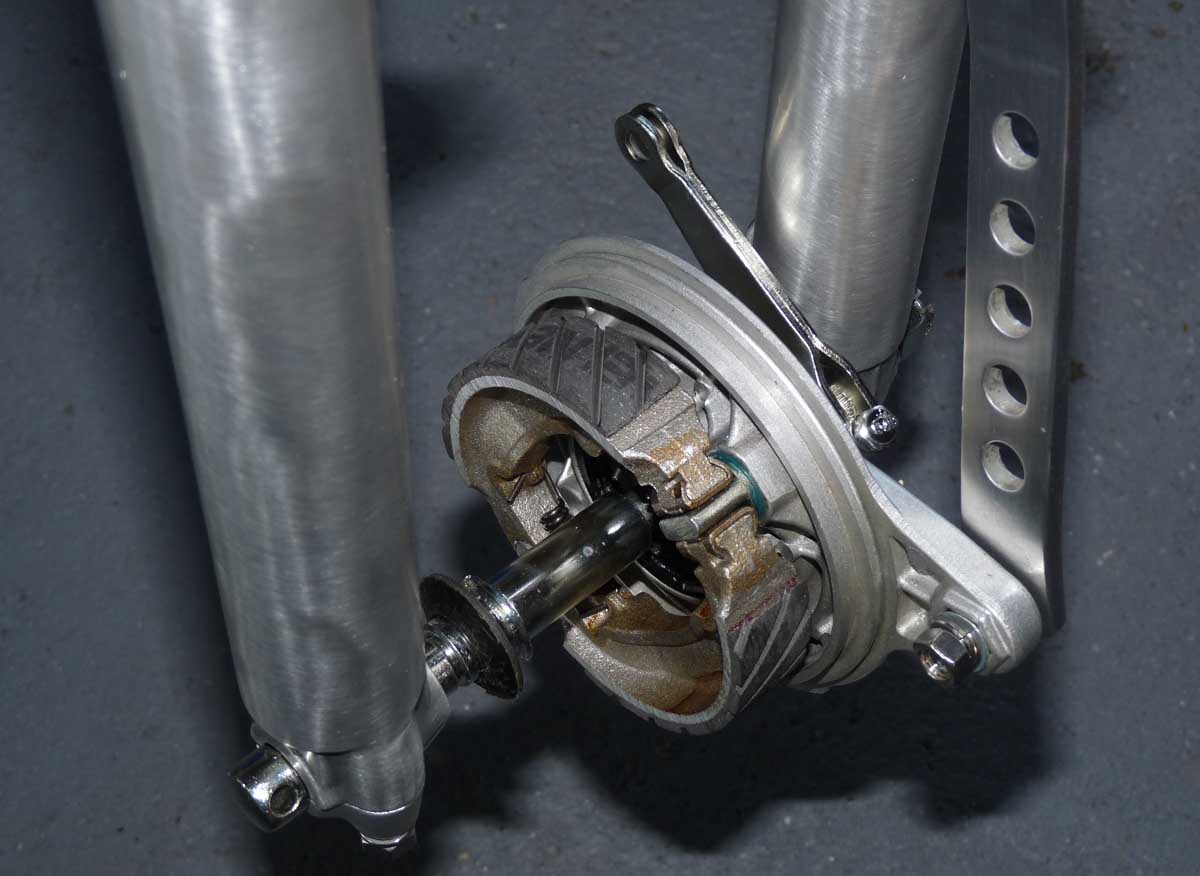
I touched up the NOS (New Old Stock) brake plate with Humbrol silver modelling paint, rather than stripping and refinishing it. I think it came out OK.
As this brake plate came with no speedo internals, I bought the worm gear parts from CMSNL (see link at top of page), and used the drive parts that engage with the wheel from my old plate.
And adding new brake shoes, and the re-zinc'ed arm and cam, etc, I ended up with this:
I polished the alloy torque arm and along with the re-zinc'ed spindle, etc, I loosely installed the brake plate as below.
Forks:
You'll see here, that the forks are in. That's another job carried out. I cleaneed up (but not highly polished) the fork bottoms using scotchbrite pads in an electric drill. I've left the bottoms as bare ally, I'll not paint them. As you can see, they may still need a little polishing tweak just to 'average out' the scotchbrite marks. But, following earlier work on the yolks, I found the finish naturally mellows over time to a more even look, so hopefully, the legs will settle down too.
I installed new taper head bearings, and using re-zinc'ed original bolts for all except the handle bar clamps which are NOS Yamaha bolts, I re-fitted the yorks.
The forks are supposed to extend out of the top yolk by 20mm or so. I found NOS cable guides (one on each fork) from an eBay ad in Australia. My reference photos from Yamaha brochures seem to say to keep the left hand cable guide (RHS in image below) down as low as possible. NOTE: I've just realised that both guides should be on the same side as the lower guide (see ref images below), ie, both should be on LHS of the bike! I'll change that later! Although my parts books show the top guide on RHS.
Extracts from my ref images:
Rear Brakes:
Again, I touched up the NOS rear brake plate with Humbrol paint, rather than refinishing it.
Then added in the new pads, and re-zinc'ed original arm and cam, etc
And along with the polished torque arm, loosely inserted the brake along with re-zinc'ed spindle, spacers, adjusters, etc.
That pretty much completes the xmas break work on the bike. All coming along nicely. The sharp eyed will have noticed the tank installed at one point. This is my unfinished tank, and installed just to check if the forks cleared the tank on full lock. They didn't on left hand lock by less than a mm. I wish I'd have checked that before I had the frame painted, as I could have built some weld up on the stop. So, I'll just stick a small rubber pad on that stop (or more probably, both stops to keep things even) just to protect the tank once it's painted.