Showing posts with label Strip Down. Show all posts

Tuesday, 18 December 2012

TY175: Engine Strip & Clean

Here's a few images of the engine strip down.
 
 
 I had all the ally aqua blasted. It never ceases to amaze how well aqua blasting cleans cases.
 
 
 Here are the seals and bearings ready to go back in.
 

Saturday, 26 November 2011

TY175: Wheels and Hubs

I've removed the spokes from the pair of rear wheels to get one good rim and hub. I'm ready now to send both rims and hubs off to get aqua blasted, and then, probably, to get painted. I spent time fettling the rims to remove the worst of the dings and scratches. I'll see when they're cleaned up, if I need to fettle the rims any more, and also decide on either paint or natural finish.


Monday, 21 November 2011

TY175: Swith Gear

Stripped down the switch gear, cleaned and polished each part. I need to make a new 'post' for the broken one. I seem to remember reading an article about making a new one by forming a mold of a good one, and using some pourable plastic resin material to produce a new post. I'll have to look it up.

I also need some new grey wiring loom tubing for the cables. Anyone reccomend a good place to get it? I've temporarily reassembled the switch to stop me losing any small bits, and so I don't forget how it goes together!

 
what I statred with


not too grubby inside


completely stripped down.


polished and component parts


the right hand clear plastic part is the one that need a new 'post'

polished and back in one piece - temporarily anyway.

Can anyone upload a link to the post that showed someone making a swith 'post' please? I think it involved a plastercine mold of some sort.

Also, what red & black paint does anyone suggest for painting the letters & red square back in please? A small pot of Humbrol or similar??

Finally, where do you reccomend I get the cable sheath from, and is heat shrink preferred? 

TY175: Levers and Throttle

Having bought a couple of pairs of lever posts from eBay, these are the best 2 I have, with the correct bolts.

So, I stripped them down and gave the first one a good clean


I then realised that the post on the left had been squeezed in so far (by using the wrong lever), that my new pattern lever wouldn't fit. I've put this one aside to take to my welder to apply heat and restraighten. The post on the left cleaned up nicely, and with a tweak, the pattern lever fits snugly.


The pattern levers are far too shiny, so they will need a good scrub with scotchbrite to take the shine off.

I did the same clean up with the throttle


I do have a new throttle tube coming.

TY175: Forks Stripped

Stripped down the forks:


Shown with new seals, dust covers, drain screws / washers and damper retaining screws.


Cap bolts - 1 nicely cleaned up and polished, the other one still to do.

TY175: Front Wheel Strip

Stripped the front wheel this weekend:


I think (looking at parts book) there's a seal missing - I'll order one from www.cmsnl.com. All in pile for zinc plating.

My NOS brake plate


  Photos of wheel for reference when re-spoking it
Angle grinder killed the spokes pretty quickly
Alloy DID rim - with scratches and dings
Started to clean rim up with Scotchbrite...
...but then decided I'd smooth most of the worst dings, and get aqua blasted. Then painted to match the brake plate.


Along with the hub.
The component parts with new spoke set and bearings.

Sunday, 20 November 2011

TY175: Seat Preparation

As I'm not using the Sammy Miller seat / tank unit, I bought a used seat from eBay.

I've stripped off the homemade seat cover, and removed the brackets from the seat pan - snapping a couple of bolts in the process. The seat foam doesn't look too bad, but the pan needs a bit of work. I called Andrew Leighton at RK Leighton who gave me an estimate of c£80 to totally refurb the whole seat, inc new seat cover. So, I've sent it off.

Here's what he's working with.

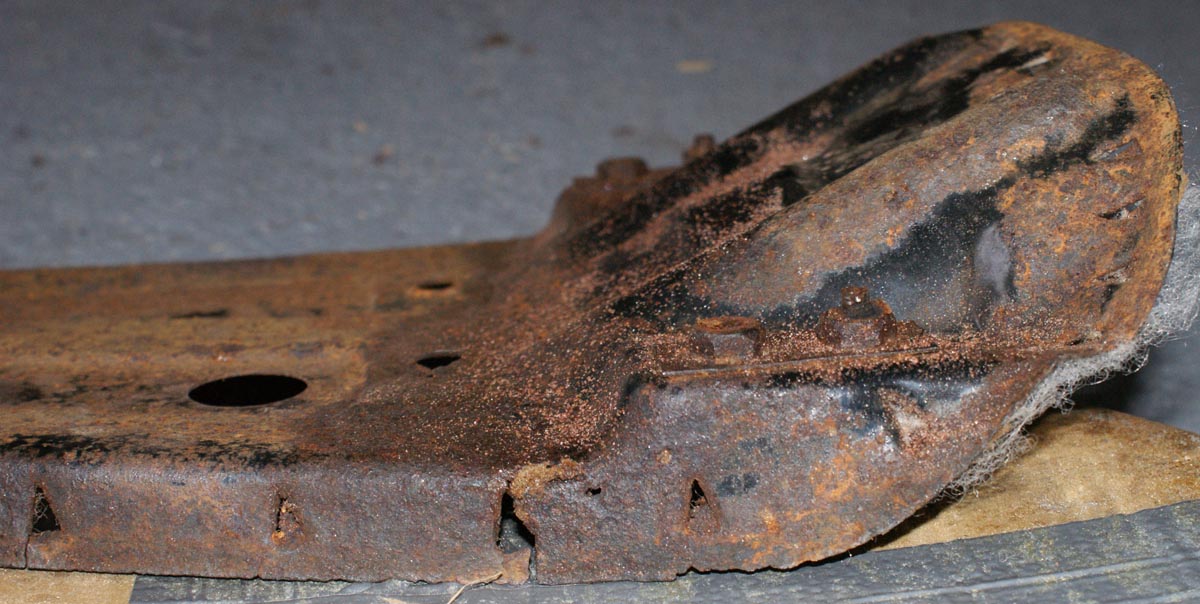
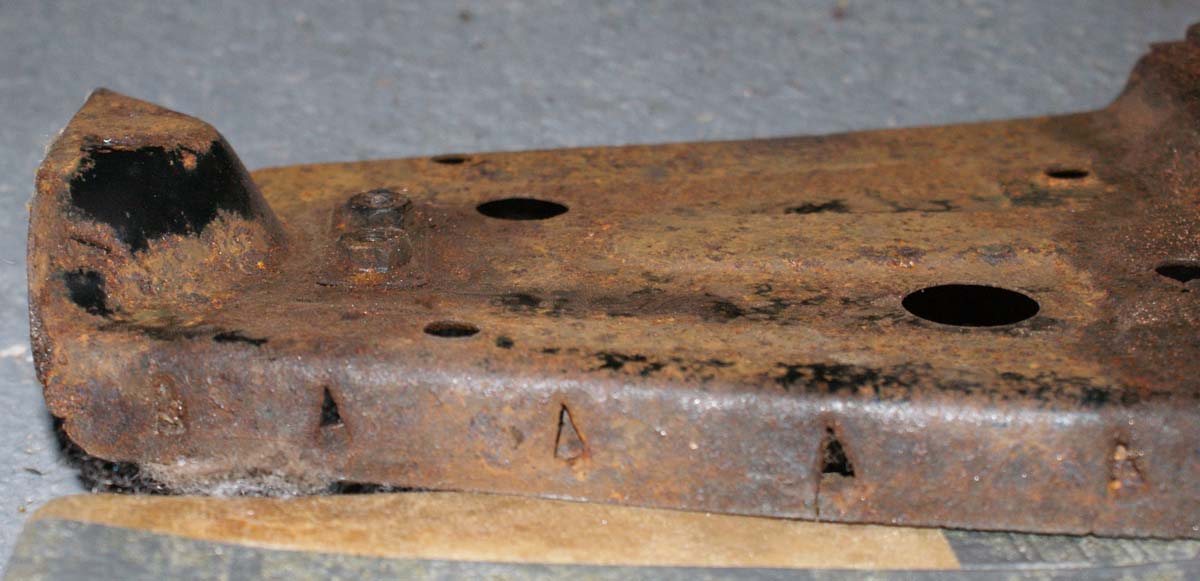
 underside of pan
top of pan
underside of foam
 top of foam
handmade seat cover
style of cover I've asked for
close ups of pan
 brackets, etc, from pan